
Oreo Moon Phases Worksheet PDF: A Comprehensive Guide
This engaging, printable resource facilitates learning about lunar cycles, offering a structured way to document the Oreo cookie phases and
comprehend their sequential order.
Position one represents the new moon, prompting students to meticulously label each subsequent phase, solidifying their understanding of this celestial phenomenon.
This hands-on activity transforms the abstract concept of moon phases into a deliciously tangible learning experience! Utilizing Oreo cookies, students actively model the eight distinct phases of the moon, fostering a deeper comprehension than traditional textbook methods.
The Oreo Moon Phases activity isn’t just about cookies; it’s about visualizing the changing illumination of the moon as it orbits Earth. Coupled with a dedicated Moon Phases Worksheet PDF, students document their creations, labeling each phase and reinforcing their understanding of the lunar cycle’s progression.
This lab provides a memorable and engaging way to explore astronomy, making it ideal for elementary and middle school science classrooms. It encourages observation, manipulation, and critical thinking, all while satisfying a sweet tooth! The worksheet serves as a crucial component, guiding students through the process and solidifying their learning.
What are Moon Phases? ⎻ A Basic Overview
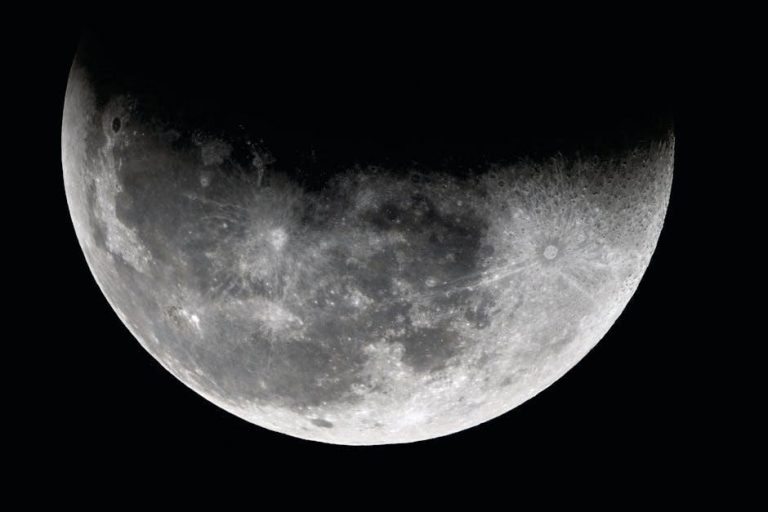
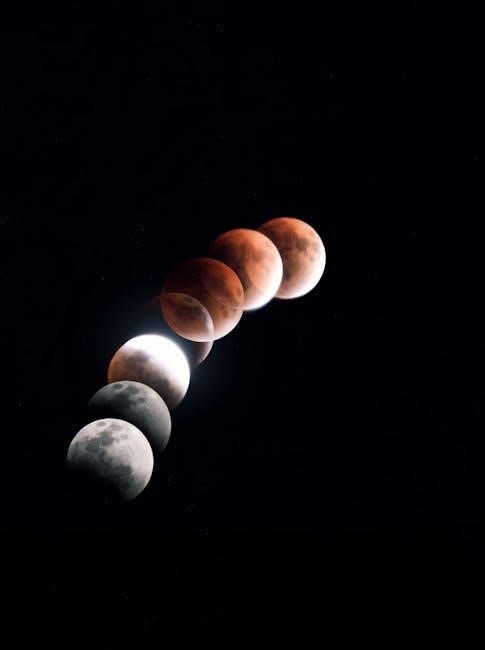
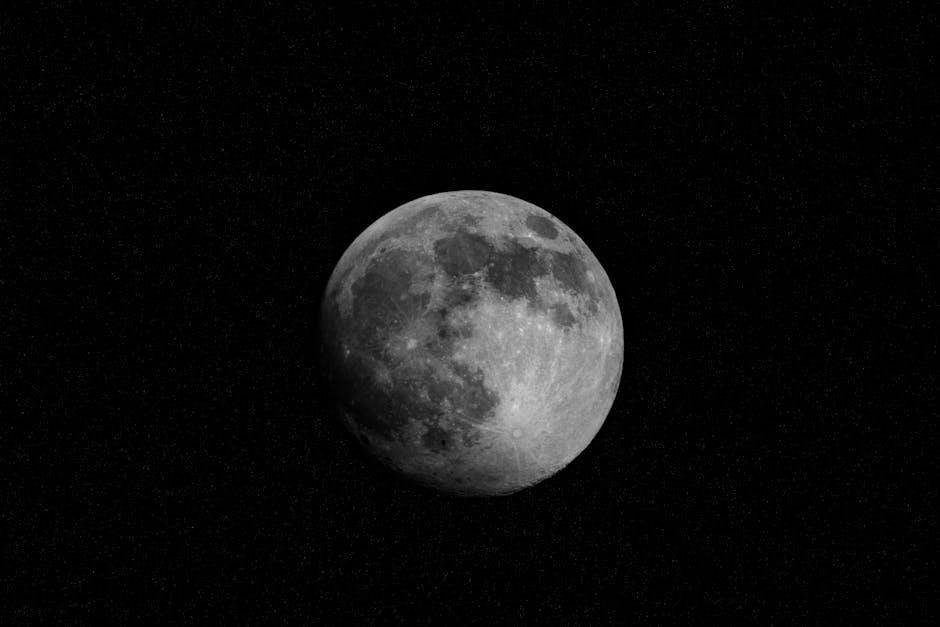
Moon phases are the different ways the Moon appears from Earth throughout its monthly orbit. This isn’t because the Moon changes shape, but rather because we see varying amounts of the sunlit portion as its position relative to the Earth and Sun shifts.
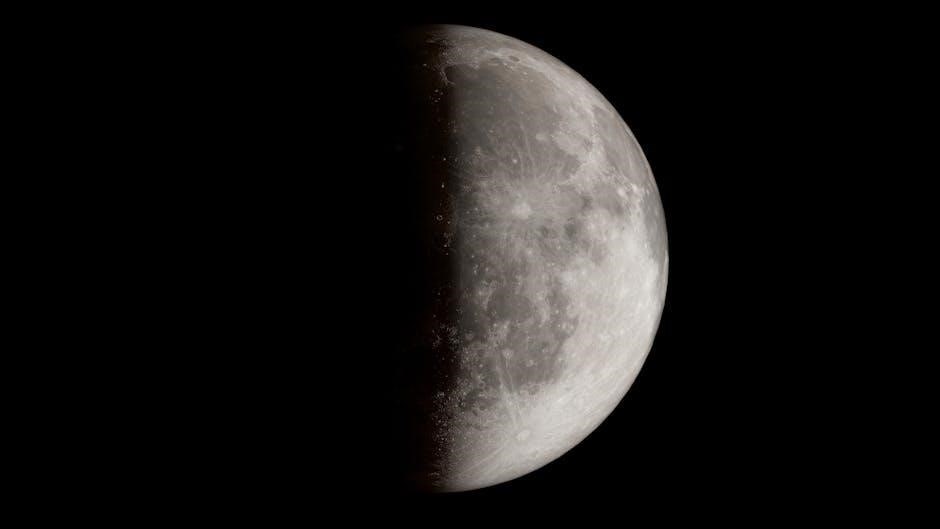
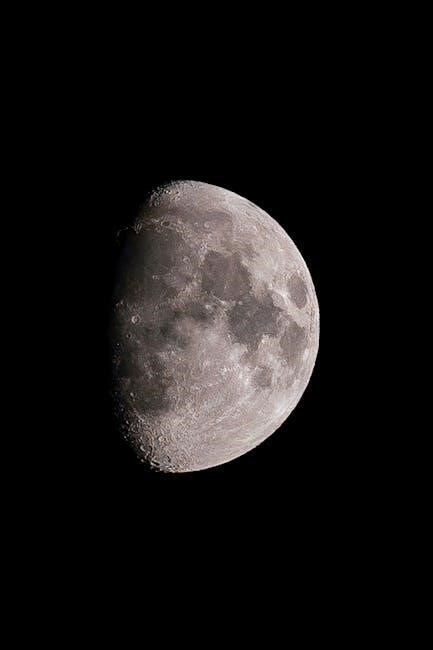
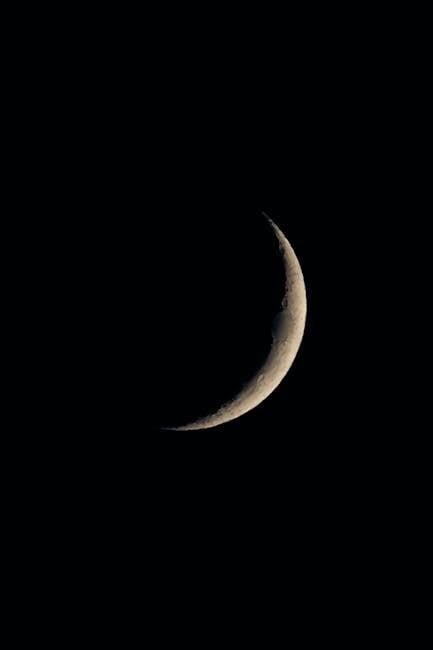
The lunar cycle begins with the New Moon, when the Moon is between the Earth and Sun, appearing dark to us. As it orbits, we see a growing sliver – the Waxing Crescent – eventually leading to the First Quarter, where half the Moon is illuminated.
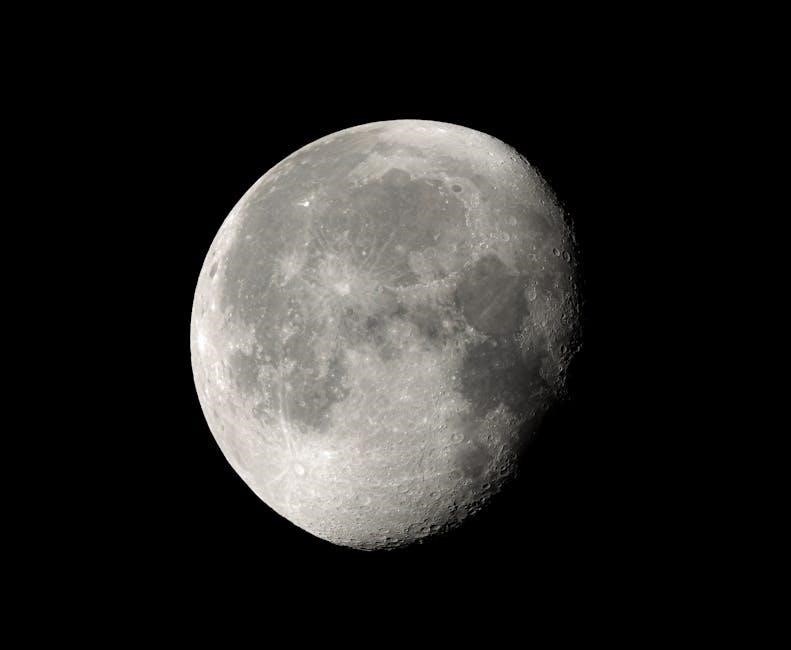
Continuing the cycle, the Waxing Gibbous phase shows more than half lit, culminating in the Full Moon. Then, the illumination decreases through the Waning Gibbous, Third Quarter, and finally, the Waning Crescent, before returning to the New Moon. Understanding these phases is key when using the Oreo Moon Phases Worksheet PDF.
Why Use Oreos to Demonstrate Moon Phases?
Oreos provide a remarkably tactile and delicious way to visualize the abstract concept of moon phases. The two distinct cookies – chocolate wafer and creamy filling – perfectly represent the illuminated and shadowed portions of the Moon as seen from Earth. This hands-on approach significantly enhances comprehension, especially for visual and kinesthetic learners.
Unlike diagrams or simulations, manipulating the Oreo cookies allows students to actively create the phases, reinforcing their understanding of the lunar cycle. It transforms a potentially dry science lesson into an engaging, memorable experience.
Coupled with the Oreo Moon Phases Worksheet PDF, this activity offers a complete learning package, combining practical application with structured documentation and analysis of the phases.
Materials Needed for the Oreo Moon Phases Lab
Essential supplies include Oreo cookies, plastic knives or toothpicks for careful phase creation, and a printable Moon Phases Worksheet PDF for recording observations.
Oreo Cookies ⎻ The Core Component
Oreo cookies serve as the central manipulative in this hands-on activity, brilliantly mimicking the appearance of the moon’s changing phases. Their distinct dark cookie and bright crème filling provide a visually effective model for demonstrating how much of the moon appears illuminated from Earth’s perspective.
The crème represents the sunlit portion, allowing students to physically scrape away the filling to simulate the varying degrees of illumination throughout the lunar cycle. Each cookie becomes a miniature moon, easily modified to showcase the New Moon, Crescent, Quarter, Gibbous, and Full Moon phases.
Choosing regular Oreos is best, as other varieties with different filling textures might not scrape as cleanly. Having enough cookies – one per student or group – ensures everyone can actively participate in creating and observing the phases. This tactile experience significantly enhances comprehension and retention of the lunar cycle concepts.
Plastic Knives or Toothpicks ⎯ For Phase Creation
Essential tools for sculpting the lunar phases, plastic knives or toothpicks allow students to carefully remove the Oreo crème filling, representing the shadowed portions of the moon. Plastic knives offer a broader scraping surface, ideal for larger phase adjustments, while toothpicks provide precision for finer details, like the delicate curves of a crescent moon.
Safety is paramount; supervise students closely when using these tools, emphasizing gentle scraping to avoid breakage or injury. Ensure each student has their own tool to prevent cross-contamination and maintain a focused learning environment.
The chosen tool facilitates a hands-on understanding of how the illuminated portion of the moon changes as it orbits Earth. This physical manipulation reinforces the abstract concept of lunar phases, making it more accessible and memorable for students completing their Oreo moon phases worksheet.
Moon Phases Worksheet PDF ⎻ Printable Resource
A cornerstone of the Oreo moon phases activity, the printable worksheet provides a structured framework for students to record and analyze their observations. This downloadable PDF typically features diagrams of the eight moon phases, often in a circular arrangement mirroring the lunar cycle.
Worksheet elements commonly include spaces for labeling each phase – New Moon, Waxing Crescent, First Quarter, and so on – reinforcing vocabulary and comprehension. Some worksheets incorporate matching exercises, prompting students to connect the Oreo cookie models with the corresponding diagrams.
The worksheet’s value extends beyond identification; it encourages students to analyze the cyclical nature of moon phases and understand the progression from one phase to the next, solidifying their grasp of this fundamental astronomical concept.
Paper Towels ⎻ For Clean Up
Essential for managing the delightful mess inherent in the Oreo moon phases activity, paper towels are a practical necessity. Manipulating the cookies to represent different phases inevitably leads to stray crumbs and cream residue on hands and work surfaces.
Having paper towels readily available ensures a clean and focused learning environment, allowing students to concentrate on the scientific concepts rather than sticky fingers. They are crucial for wiping plastic knives or toothpicks used to sculpt the Oreo phases, maintaining hygiene throughout the lab.
Beyond immediate cleanup, paper towels assist in preserving the integrity of the worksheets themselves, quickly addressing any accidental smudges or spills that might occur during the labeling and analysis process.
Understanding the Eight Moon Phases
The Oreo model visually demonstrates the cyclical nature of lunar illumination, from the darkness of the New Moon to the brilliance of the Full Moon and back again.
New Moon ⎻ The Dark Side
The New Moon, represented by a fully cream-covered Oreo, symbolizes the beginning of the lunar cycle. During this phase, the Moon appears invisible from Earth as the side facing us isn’t illuminated by the sun.
Students using the worksheet will note that this phase requires complete removal of the “lit” chocolate cookie, mirroring the absence of visible light. This hands-on approach reinforces the concept that the Moon is always there, even when we can’t see it.
The worksheet prompts learners to connect this dark representation with the initial stage of the cycle, fostering a deeper understanding of the Moon’s orbit and its relationship to sunlight. It’s a foundational step in grasping the entire lunar progression.
Careful observation and labeling on the PDF worksheet are crucial for solidifying this initial understanding.
Waxing Crescent ⎯ A Sliver of Light
The Waxing Crescent phase, depicted with a small portion of the Oreo’s chocolate cookie exposed, signifies the Moon’s gradual return to visibility. “Waxing” indicates increasing illumination, and “crescent” describes the thin, curved shape.
On the Oreo Moon Phases worksheet PDF, students carefully scrape away a tiny section of the cream, representing the sliver of sunlight reflecting off the Moon’s surface. This tactile experience aids comprehension.
The worksheet encourages precise labeling and comparison to diagrams, reinforcing the concept of the Moon’s changing appearance. It’s vital to note the crescent’s orientation – it grows larger each night.
This phase demonstrates the Moon’s progression from darkness towards fullness, building a strong visual understanding of the lunar cycle’s dynamics.
First Quarter ⎯ Half Illuminated
Reaching the First Quarter phase, students will carefully remove precisely half of the Oreo’s cream filling, showcasing a distinct 50% illumination. This stage marks a significant milestone in the lunar cycle, representing a quarter of the way through.
The Oreo Moon Phases worksheet PDF provides a clear visual guide, prompting students to accurately depict this half-moon shape. Emphasis is placed on achieving a clean, straight line to divide the illuminated and shadowed portions.
Labeling the First Quarter correctly on the worksheet reinforces understanding of the Moon’s orbital position relative to the Earth and Sun. It’s a crucial step in grasping the cyclical nature of lunar phases.
This hands-on activity solidifies the concept of the Moon’s changing appearance and its relationship to sunlight.
Waxing Gibbous ⎻ More Than Half Lit
As students progress to the Waxing Gibbous phase, they’ll remove more cream from the Oreo, leaving a shape that’s more than half illuminated but not yet a full circle. This phase signifies the Moon is continuing to grow towards fullness.
The accompanying Oreo Moon Phases worksheet PDF challenges students to accurately represent this increasingly illuminated shape. Careful observation and precise cream removal are key to a successful model.
Students will compare their Oreo model to the diagram on the worksheet, noting the subtle differences in shape and illumination. This reinforces the understanding that ‘gibbous’ means more than half, but less than full.
Correctly identifying and labeling this phase on the worksheet demonstrates a solid grasp of the lunar cycle’s progression.
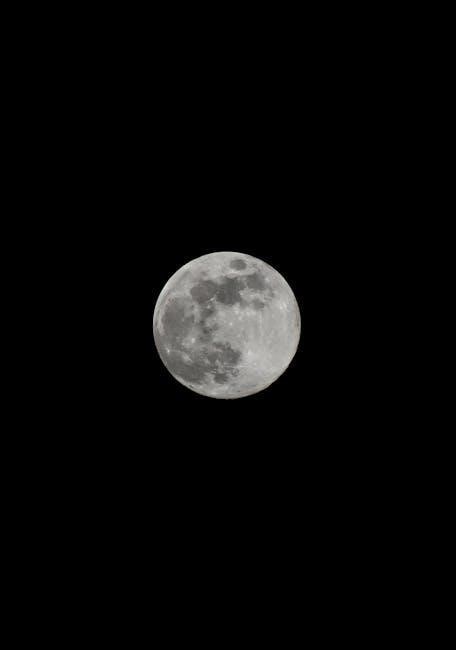
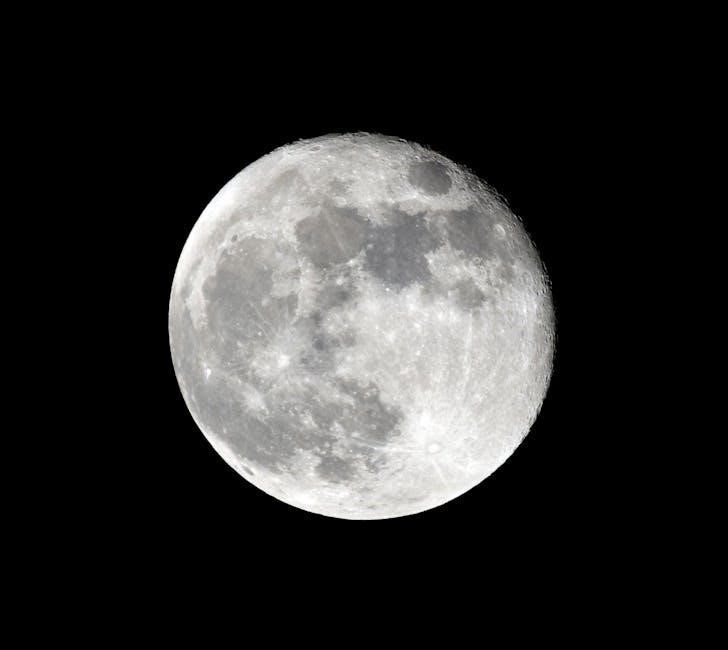
Full Moon ⎻ Fully Illuminated
Reaching the Full Moon phase is a visual highlight of the Oreo activity! Students will carefully scrape away all of the cream filling, revealing the completely chocolate-covered cookie. This represents the Moon as it appears when fully illuminated by the sun.
The Oreo Moon Phases worksheet PDF provides a clear diagram of a full moon for comparison. Students should meticulously match their Oreo model to the worksheet illustration, ensuring a perfect representation;
This phase emphasizes the concept of complete illumination and serves as a midpoint in the lunar cycle. It’s a great opportunity to discuss cultural significance and folklore associated with the full moon.
Accurate depiction and labeling on the worksheet solidify understanding of this prominent lunar phase.
Waning Gibbous ⎻ Decreasing Illumination
The Waning Gibbous phase signifies a gradual decrease in the visible illuminated portion of the Moon. Students will begin to carefully scrape some of the cream filling back onto the chocolate cookie, leaving a substantial, but diminishing, crescent of white.
Referring to the Oreo Moon Phases worksheet PDF is crucial here. Students must compare their partially-filled Oreo to the corresponding diagram, noting the shape and amount of illumination remaining.
This phase demonstrates the Moon’s progression towards the Third Quarter. It’s an excellent point to discuss how our perspective of the Moon changes as it orbits Earth.
Precise scraping and accurate worksheet labeling reinforce the concept of decreasing illumination and the cyclical nature of moon phases.
Third Quarter ⎯ Opposite Half Lit
The Third Quarter phase presents a visually striking contrast to the First Quarter. Students will now scrape away approximately half of the remaining cream filling, aiming for a precise 50/50 split between illuminated and shadowed areas on their Oreo cookie.
Utilizing the Oreo Moon Phases worksheet PDF, students should carefully compare their cookie’s appearance to the diagram representing the Third Quarter. Emphasis should be placed on recognizing that the illuminated half is now opposite to that of the First Quarter.
This phase highlights the Moon’s continued journey around Earth, and the changing angles of sunlight.
Accurate scraping and worksheet correlation solidify understanding of lunar geometry and the cyclical progression of moon phases, fostering a deeper comprehension.
Waning Crescent ⎻ A Diminishing Sliver
As the Moon approaches its next New Moon phase, the illuminated portion continues to decrease, resulting in the Waning Crescent. Students will carefully scrape away most of the remaining cream, leaving only a small, curved sliver visible.
Referring to the Oreo Moon Phases worksheet PDF, students should observe how the diagram depicts a very thin crescent of light. Precision in scraping is key to accurately representing this phase.
This phase demonstrates the Moon’s diminishing illumination as it moves further away from direct sunlight in its orbit around Earth.
Comparing the cookie to the worksheet reinforces the concept of waning phases and prepares students for the cycle’s return to the New Moon.
Step-by-Step Oreo Moon Phases Lab Procedure
Follow these instructions carefully, utilizing the Oreo cookies and worksheet PDF to model each lunar phase accurately and enhance comprehension of the cycle.
Step 1: Preparing the Oreo Cookies
Begin by carefully separating the Oreo cookies, gently twisting them apart to reveal the creamy filling. It’s crucial to avoid completely smashing the cookie, as the goal is to sculpt the filling into representative moon phases.
Place each cookie half, filling-side up, on a clean paper towel to prevent messes and provide a stable surface for manipulation. Ensure you have enough cookie halves prepared to represent all eight moon phases, aligning with the spaces provided on your
Moon Phases Worksheet PDF.
This initial preparation is fundamental, setting the stage for accurately modeling the lunar cycle and effectively utilizing the worksheet for labeling and analysis. A neat workspace contributes to a successful and educational lab experience.
Step 2: Creating the New Moon Phase
To represent the New Moon, completely scrape off all the cream filling from one Oreo half. This symbolizes the moon being unilluminated from our perspective on Earth, appearing dark in the night sky. Ensure a clean removal, leaving a completely dark cookie surface.
Refer to your Moon Phases Worksheet PDF and locate the designated space for the New Moon. This phase marks the beginning of the lunar cycle, a crucial point for understanding the sequence of phases.
Carefully place the filling-free Oreo half in the corresponding section of the worksheet. This visual representation reinforces the concept of a completely dark moon, laying the foundation for modeling the subsequent waxing phases.
Step 3: Modeling the Waxing Crescent Phase
For the Waxing Crescent, carefully scrape away most, but not all, of the cream filling from another Oreo half. Leave a small, crescent-shaped portion of the cream intact, representing the sliver of illuminated moon visible during this phase.
Consult your Moon Phases Worksheet PDF to find the section dedicated to the Waxing Crescent. Observe the diagram illustrating the crescent shape and its orientation. This visual aid will guide your modeling process.
Position the Oreo half with the crescent of cream facing the correct direction, as shown on the worksheet. This demonstrates the increasing illumination as the moon moves towards the First Quarter phase, solidifying understanding.
Step 4: Representing the First Quarter Phase
To model the First Quarter, take a fresh Oreo and carefully twist the halves apart. Scrape away exactly half of the cream filling from one side, leaving the other half completely covered. This visually represents half of the moon being illuminated by the sun.
Refer to your Moon Phases Worksheet PDF and locate the diagram for the First Quarter moon. Note the precise orientation – half of the circle should be dark, and half should be light.
Align your Oreo model with the worksheet diagram, ensuring the illuminated half corresponds to the lit portion shown. This reinforces the concept of the moon’s position relative to the Earth and Sun during this phase.
Step 5: Illustrating the Waxing Gibbous Phase
For the Waxing Gibbous phase, again separate an Oreo cookie’s halves. This time, scrape away a bit more than half of the cream filling, leaving a significantly larger illuminated portion. The “waxing” part indicates the illuminated area is growing larger each night.
Consult your Moon Phases Worksheet PDF. Observe the Waxing Gibbous diagram; it shows a moon that is more than half lit, but not yet full. Pay attention to the shape – it’s almost a full circle, but still has a slightly shadowed side.
Compare your Oreo model to the worksheet illustration, ensuring the amount of cream remaining accurately reflects the illuminated portion of a Waxing Gibbous moon.
Step 6: Depicting the Full Moon Phase
To represent the Full Moon, carefully separate another Oreo cookie. This time, completely remove all of the cream filling from one side, leaving the other side entirely covered. This symbolizes the entire face of the moon being illuminated by the sun.
Refer to your Moon Phases Worksheet PDF. Locate the diagram illustrating the Full Moon. Notice it’s a perfect circle of light – no shadows are visible on the lunar surface in this phase.
Carefully compare your Oreo model with the worksheet’s depiction. Ensure the entire cream side is visible, mirroring the fully illuminated moon. This phase is a beautiful and easily recognizable celestial event!
Step 7: Showing the Waning Gibbous Phase
For the Waning Gibbous phase, take another Oreo and gently twist it open. Now, carefully scrape away more than half of the cream filling, leaving a noticeably larger dark portion than in the Waxing Gibbous phase. This represents the decreasing illuminated surface.
Consult your Moon Phases Worksheet PDF. Find the diagram for Waning Gibbous. Observe that it’s still mostly lit, but a shadow is beginning to creep across the surface, indicating diminishing illumination.
Compare your Oreo model to the worksheet’s image. The key is to have more cream removed than you did for the Waxing Gibbous, accurately portraying the moon’s shrinking illuminated area.
Step 8: Modeling the Third Quarter Phase
To demonstrate the Third Quarter phase, obtain a fresh Oreo cookie. Carefully twist it open and precisely scrape away exactly half of the cream filling. This should leave you with half of the cookie covered in cream and the other half exposed.
Refer to your Moon Phases Worksheet PDF. Locate the diagram representing the Third Quarter moon. Notice that the illuminated portion is on the opposite side compared to the First Quarter phase.
Align your Oreo model with the worksheet’s illustration. Ensure the dark side mirrors the shaded area on the diagram, solidifying your understanding of how the moon appears at this stage in its cycle.
Step 9: Representing the Waning Crescent Phase
For the Waning Crescent phase, take another Oreo and gently twist it apart. This time, carefully scrape away almost all of the cream filling, leaving only a small, curved sliver visible. This represents the diminishing illuminated portion of the moon.
Consult your Moon Phases Worksheet PDF and find the Waning Crescent diagram. Observe how it’s a very thin, shrinking crescent of light before the cycle restarts with the New Moon.
Compare your Oreo model to the worksheet’s depiction. The small crescent of cream should match the shape and position shown, reinforcing your grasp of this final phase before darkness returns.

Using the Moon Phases Worksheet PDF
The worksheet enhances learning by prompting students to actively apply their Oreo-derived knowledge, labeling diagrams and analyzing the cyclical nature of lunar phases.
Labeling the Moon Phases on the Worksheet
Accurate labeling is crucial for solidifying understanding of the lunar cycle. The worksheet provides clearly delineated spaces for students to write the name of each moon phase – New Moon, Waxing Crescent, First Quarter, Waxing Gibbous, Full Moon, Waning Gibbous, Third Quarter, and Waning Crescent.
Students should carefully observe their created Oreo moon phases and correlate the visual representation with the corresponding diagram on the worksheet. This hands-on approach reinforces the connection between the physical model and the abstract concept of lunar phases.
Encourage precise handwriting and correct spelling to promote academic rigor. This activity isn’t just about identifying the phases, but also about developing scientific communication skills. Proper labeling demonstrates comprehension and attention to detail, vital for future scientific endeavors.
Matching Oreo Phases to Worksheet Diagrams
The worksheet features illustrative diagrams of each moon phase, providing a visual reference for students. After creating each Oreo moon phase, learners must carefully compare their edible model to the corresponding diagram on the sheet.
This matching exercise reinforces the visual characteristics of each phase. Students will analyze the amount of illuminated surface on the Oreo cookie and identify the diagram that accurately reflects that illumination. This strengthens observational skills and pattern recognition.
Consider using arrows or lines to connect the Oreo phases to their matching diagrams, creating a clear visual link. This activity promotes a deeper understanding of how the moon appears to change from our perspective on Earth, solidifying the learning experience.
Analyzing the Cycle of Moon Phases
The worksheet encourages students to analyze the cyclical nature of moon phases, prompting them to consider the order in which the phases occur. Once all Oreo phases are modeled and matched, the worksheet guides learners to sequence them correctly.
This sequencing activity emphasizes that the moon phases aren’t random, but follow a predictable pattern. Students will identify the progression from New Moon to Full Moon and back again, understanding the continuous loop of lunar illumination.
Worksheet questions can prompt reflection on why we only ever see one side of the moon, and how Earth’s position relative to the sun and moon creates these phases. This fosters critical thinking and a deeper grasp of the astronomical principles at play.
Educational Benefits of the Oreo Moon Phases Lab
Combining a tasty treat with science, this lab makes learning about moon phases incredibly engaging and memorable for students of all ages. The hands-on nature of manipulating the Oreo cookies solidifies understanding in a way that textbooks simply can’t.
The accompanying worksheet PDF reinforces learning by requiring students to label diagrams and analyze the lunar cycle. This combination of tactile activity and written reflection caters to diverse learning styles.
Furthermore, the lab promotes scientific observation, data recording (through the worksheet), and critical thinking skills. It’s a cost-effective and accessible way to bring astronomy to life in the classroom or at home, fostering a love for science!